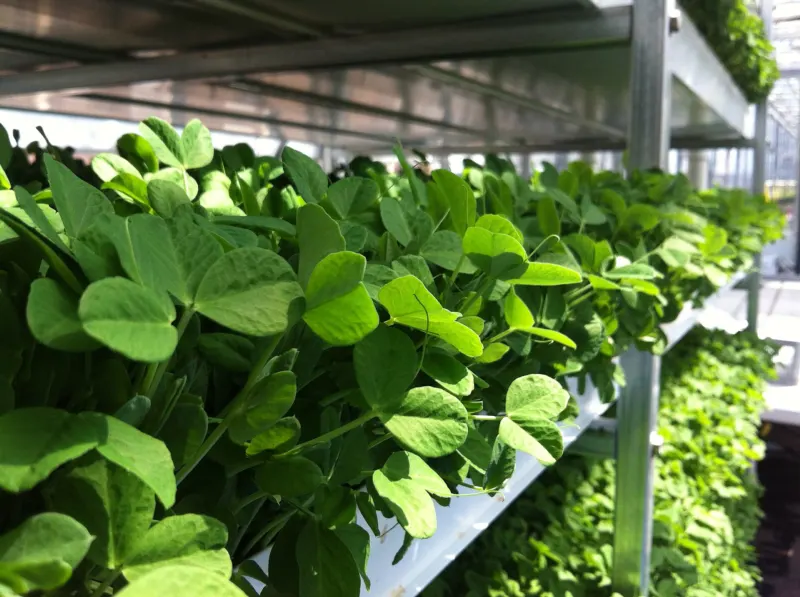
Microgreens are one of the easiest crops you can grow in a flat. They need no garden and no fertiliser, and most varieties are ready in 7 to 14 days. This guide covers the tray-and-medium method, which is the most reliable one for beginners.
What you need
- Seed sold for microgreens or sprouting. Buy seed intended for eating, without a fungicide coating. Garden seed is often treated and is not meant to be eaten.
- Two shallow trays. One with drainage holes for the growing medium, and one without holes underneath to hold water. A clean baking tin or a plastic food container works just as well.
- Growing medium. Seed-starting mix, coconut coir or a grow mat. No fertiliser is needed, because the seed carries enough food for the first weeks.
- Light. A bright window or a simple LED grow light.
- A spray bottle, clean scissors and a small weight (a book or a bag of rice).
Step 1: Prepare the medium
Moisten the medium until it feels like a wrung-out sponge: when you squeeze a handful, your hand gets wet but no water drips. Spread it 2–3 cm deep in the tray with holes, level it gently, and set it inside the tray without holes.
Step 2: Soak the large seeds
Small seeds such as radish, broccoli and arugula are sown dry. Large, hard seeds germinate more evenly if soaked first: peas for about 6 hours and sunflower for about 12 hours. Never soak basil. Its seed forms a sticky gel as soon as it gets wet and turns into a clump that will not spread.
Step 3: Sow thickly and evenly
Microgreens are sown far more densely than in a garden, so the seeds almost touch without piling up. Scatter them by hand from a little height so they spread evenly, then mist them lightly. There is no need to cover them with soil.
The table at the end gives amounts for a standard 25×50 cm tray. For a smaller container, scale the amount by surface area: a 12×25 cm container needs about a quarter.
Step 4: Darkness and weight for the first days
Cover the seeds with a second tray resting on them and put a light weight on top. The weight keeps the seeds in contact with the medium so the roots grow down into it. Once you see roots entering the medium, flip the top tray so it covers the seedlings without pressing on them. The darkness makes the plants stretch a little, which makes them easier to harvest. One to four days is enough for most varieties.
Step 5: Light, temperature and air
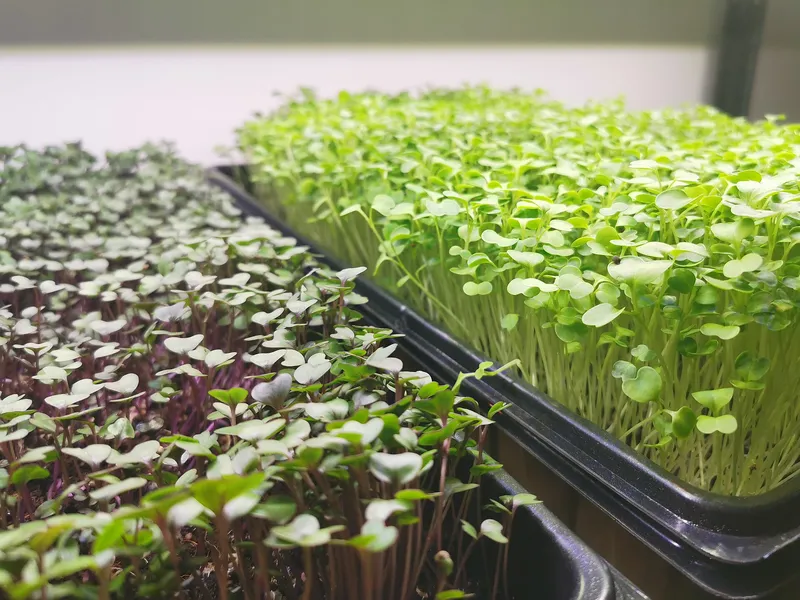
Once uncovered, the plants need a lot of light. A south-facing window is enough in summer, but in winter the short days often are not, and the plants come out weak and leaning towards the glass. An LED grow light a few centimetres above the tray, on a timer, solves this. Utah State University uses 18 hours of light and 6 hours of darkness.
The ideal temperature is about 22–23 °C during the day and slightly cooler at night, around 20 °C. A small fan on a low setting keeps the air moving and greatly reduces the risk of mould.
Step 6: Water from below
Pour water into the bottom tray and let the medium draw it up through the holes for about 30 minutes, then empty whatever is left. This keeps the leaves dry, which helps prevent mould. Water when the tray feels noticeably lighter, usually once a day. Too much water is a more common problem than too little.
Step 7: Harvest
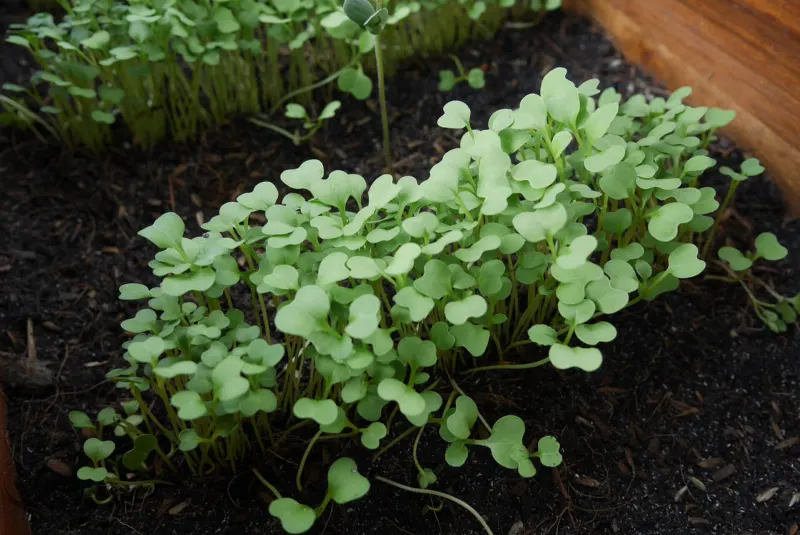
Microgreens are ready when the cotyledons (the first two leaves) have fully opened and the first true leaves are starting to appear. For most varieties that is 7 to 14 days, while slow ones such as basil and coriander need two to four weeks.
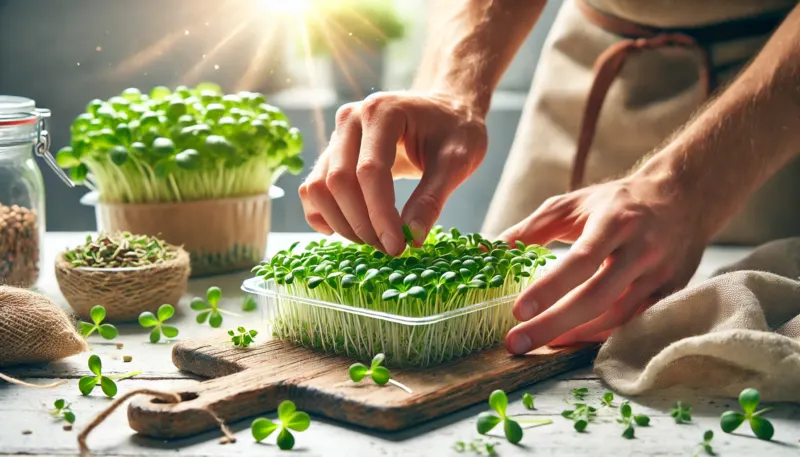
Cut with clean, sharp scissors just above the medium. Avoid watering for the last 12 hours so the plants are dry when you cut them; they will keep much better in the fridge. Rinse them just before eating, not before storing. See the guide to storage and food safety for more.
Do they regrow?
Most varieties do not: once cut, they will not give a worthwhile second crop. Peas are the exception and often give a second, smaller cut. Used growing medium can go on the compost heap.
Table: amounts and timings by variety
| Variety | Seed per 25×50 cm tray | Presoak | Days covered | Days to harvest | Flavour |
|---|---|---|---|---|---|
| Arugula | 10 g | No | 1–2 | 6–8 | Peppery |
| Broccoli | 28 g | No | 2–4 | 8–12 | Mild broccoli |
| Kale | 28 g | No | 1–2 | 8–12 | Strong, nutty |
| Radish | 42 g | No | 1–2 | 8–12 | Nutty, spicy |
| Pea | 150 g | 6 hours | 3 | 8–10 | Sweet pea |
| Sunflower | 48 g | 12 hours | 3 | 9–10 | Nutty, sweet |
| Basil | 28 g | No | 4–7 | 12–16 | Intense basil |
| Coriander (cilantro) | 28 g | No | 7–14 | 21–28 | Coriander |
Data: Utah State University Extension (10×20 inch tray, about 25×50 cm).
If something does not go as expected, see the common problems and how to fix them.
Sources
- Utah State University Extension, Grow Your Own Microgreens.
- Penn State Extension, The ABCs of Microgreens.
- USDA Agricultural Research Service, Specialty Greens Pack a Nutritional Punch (AgResearch Magazine, 2014).
Main photo: Lufa Farms, Wikimedia Commons, CC BY-SA 2.0.